E30.BMWdiy.INFO
E30 1989-1991 E30
Bumper Removal and Adjustment

(One-piece bumper - Non-Cabriolet)
Prepared by VietSB
Modified 07.04.02


NOTE: Perform these steps at your own risk. All P/N's listed are a "best guess", so please double-check with your local dealer. These mods and repairs were performed on my US-Spec 1989 325i (12/88 prod date, M20/B25 engine) but there is no guarantee they will work on other E30's. These instructions are provided for entertainment purposes only!


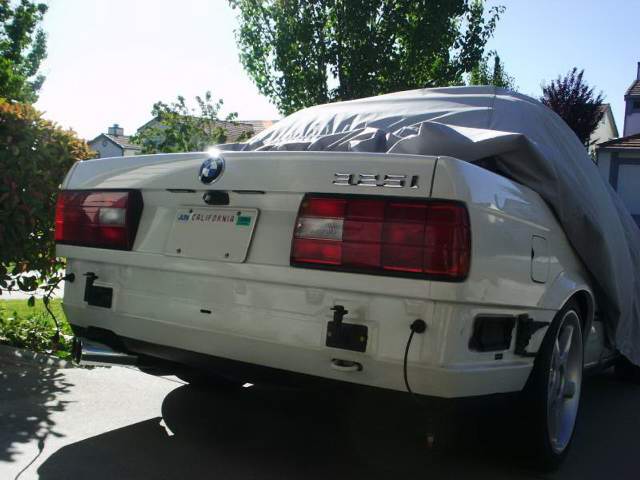
THE GOAL: To reduce the side bumper gap. Over time (or due to parking lot "love taps") the sides of the bumpers might show a bit of sag. Here's the procedure to adjust it properly.

Required Tools:


1. Use the flathead screwdriver to carefully pry out the notched end of the sidemarker light (see pic). Once it is popped out a bit, slightly pull the sidemarker towards that side to free the clip on the other end.


2. Rotate the wiring plug counter-clockwise to remove the housing and push the wiring and bulb into the bumper cavity.


3. Use the appropriate hex or Torx socket to unscrew and completely remove (2) long bolts visible from underneath the bumper.


4. Carefully pull the bumper straight back, check that the wiring is clear, and set it on the towel. Some force may be necessary to free it from the mounting posts. Having a second person to assist in guiding the bumper is preferable.


5. The side bumper heights are determined by this black track that the bumper rests on. The height is adjusted by using the 10mm socket to loosen the (2) nuts and repositioning the track. Inspect both the track and bumper-mounted guides for damage, as this might be the case of the sag.


6. Again, having a second person is very helpful in this step. Carefully guide the bumper into the tracks, pass the sidemarker wiring back thru the bumper openings, and proceed to push the bumper back onto the two mounting arms. The mounting arms have a slight gap (see pic) between the mounting nut and the bolt guide. On the back of the bumper, there is a corresponding tab which slides into that gap.


7. Check the alignment on both sides. Install the (2) long bolts and torque them to 64 ft-lb. Screw the sidemarker lamps clockwise back into the housings. Place the pry-side of the sidemarker back in first, then press the clip side inwards to lock it into place. That's it, the rear bumper is complete!
8. The front bumper side tracks seem to be adjustable via screws on the other side of the body in the fender well, so removing the entire bumper might not be necessary. My front bumper didn't require an adjustment, so I didn't check further. Only proceed if you have a reason to remove the front bumper.


9. The front bumper uses the same type of long 10mm hex or T-50(?) Torx mounting bolts. Repeat the steps above for sidemarker and mounting bolt removal. I also recommend removing the front license plate (if any) to keep it protected. Once the bolts are removed, carefully pull the bumper straight forward and unplug the (2) parking/turn signal wiring plugs before laying the bumper down on the ground. Again, a second person is helpful here.


10. Re-installation is the reverse. Remember to torque the mounting bolts to 64 ft-lb.
RESULTS
Hopefully you can notice a difference.

Before:

After:


Questions? Comments? E-mail me: .

Click Here to return to the Main Menu.


Optimized for 800x600 or higher resolution.

Copyright © Midnight Designs, 2002. All Rights Reserved. All images and registered trademarks are used to benefit and without intent to infringe on the holder. Contents Subject to Change Without Notice.