E30.BMWdiy.INFO
E30 Sunroof Adjustment
Prepared by VietSB
Modified 07.04.02


NOTE: Perform these steps at your own risk. All P/N's listed are a "best guess", so please double-check with your local dealer. These mods and repairs were performed on my US-Spec 1989 325i (12/88 prod date, M20/B25 engine) but there is no guarantee they will work on other E30's. These instructions are provided for entertainment purposes only!


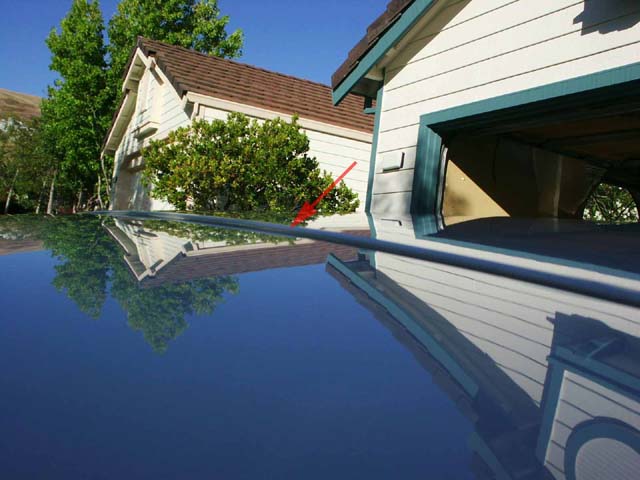
THE GOAL: According to the Bentley manual, the front edge of the sunroof should be 1mm below and the rear edge 1mm above the roofline. My sunroof's rear edge had sunk down to about 2mm below the roofline. It wasn't making whistling noises while driving, but aesthetically it could look better.


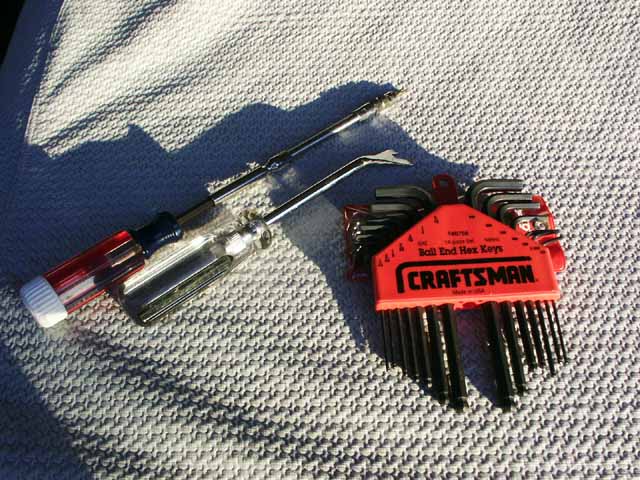
Required Tools:


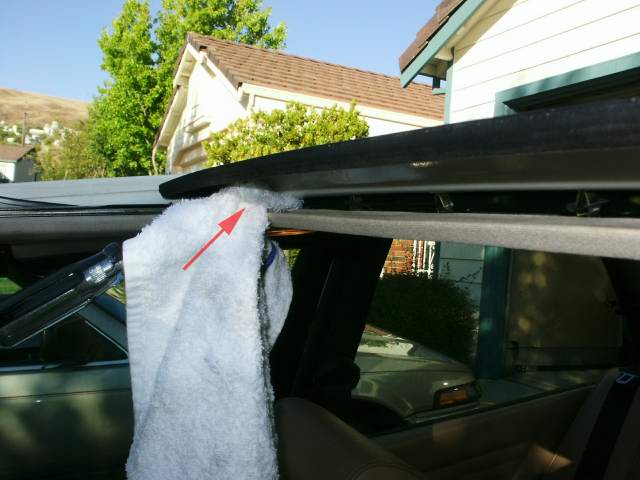
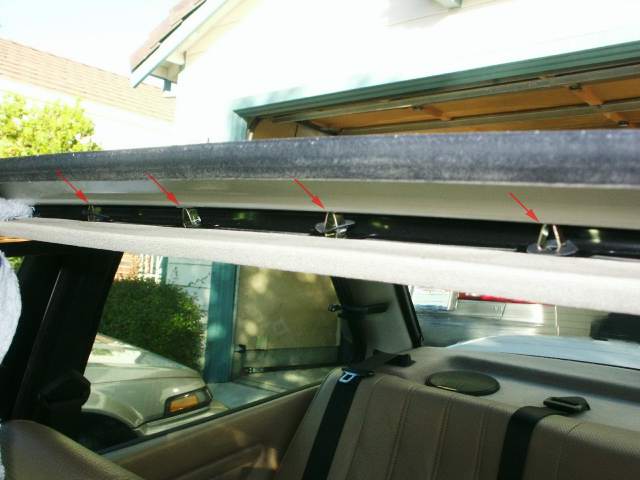
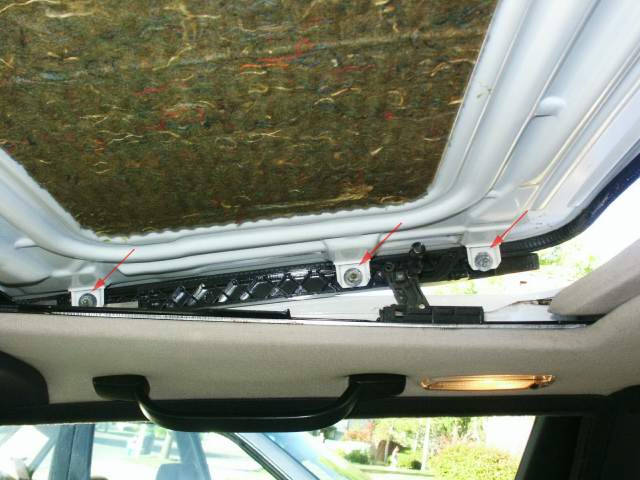
1. Open the sunroof halfway and use the towel-wrapped door panel puller to carefully pry down the (5) body fasteners. Use the pictures below to pry as close as possible to the fasteners.


2. Close the sunroof and continue cranking (or closing if motorized) until the sunroof is tilted open at the rear. Carefully push the inner lining back until the back portion drops, then continue pushing and guiding it backwards as far as it will go into the roofline.
3. Use the T25 Torx screwdriver to loosen the (6) screws holding the sunroof to the guide track. They are only supposed to be tightened to 3 to 4 ft-lb, but mine took some effort to break loose probably due to oxidation. The flexible attachment screwdriver is useful here to get enough clearance to turn it properly. Lower the sunroof down to the standard closed position in preparation for the next step.


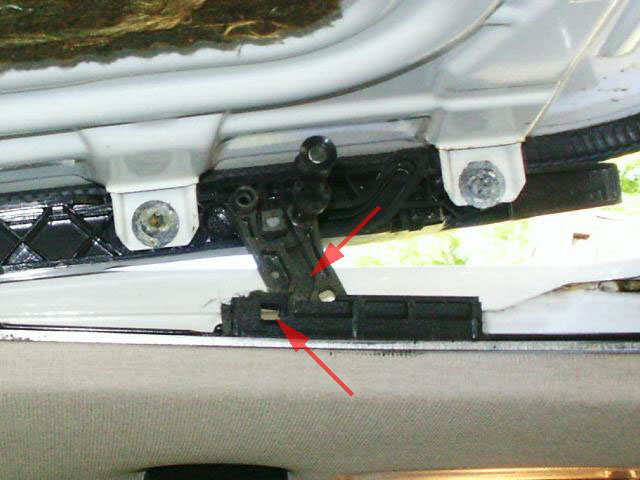
4. The Bentley manual talks about placing 4mm hex wrenches thru holes in the guide rail (bottom arrow) to slide thru and engage the tilt track (top arrow) on both sides, thereby keeping the sunroof sliding mechanism held solidly together during the adjustment process. Strangely enough, I couldn't see any way the hole would match up with the track when the sunroof was closed. I closed the sunroof and stuck the hex wrenches in there, but doubt it engaged anything useful. Maybe my sunroof mechanism is a bit different?


5. With the sunroof in the standard closed position, have a second person hold the rear edge 1mm above the roofline while you tighten the back screw and repeat for the other side. During this process, I held the mechanism down with my fingertips from the inside, trying to mimic the purpose of the 4mm hex wrench described in Step 4. Hold the front edge 1mm below the roofline and tighten the front and middle screws. All (6) screws should be tightened to 3 to 4 ft-lb.
6. Use the crank or motor to tilt the sunroof upwards and pull the inner lining back out to the fully closed position. It took me a number of tries, but close the sunroof and continue to retract it to the halfway point while holding and guiding the liner fasteners into place. It's a little tricky, but take your time and you'll eventually get it lined up properly. Carefully snap the liner fasteners back into place and you're done!
RESULTS
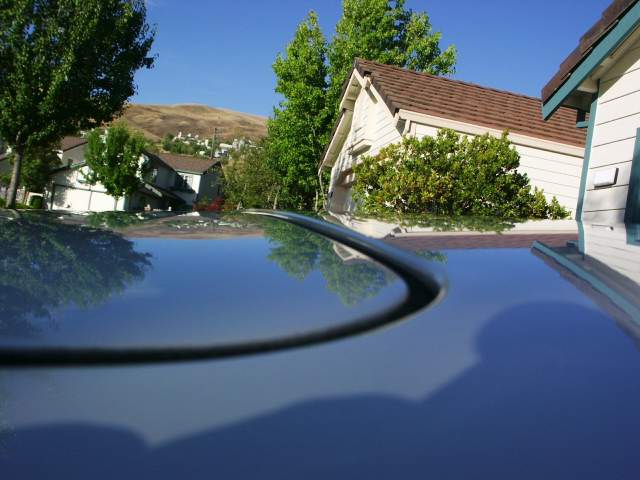
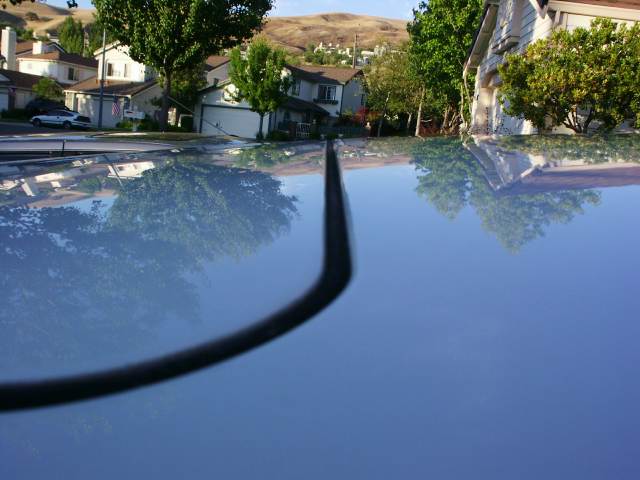
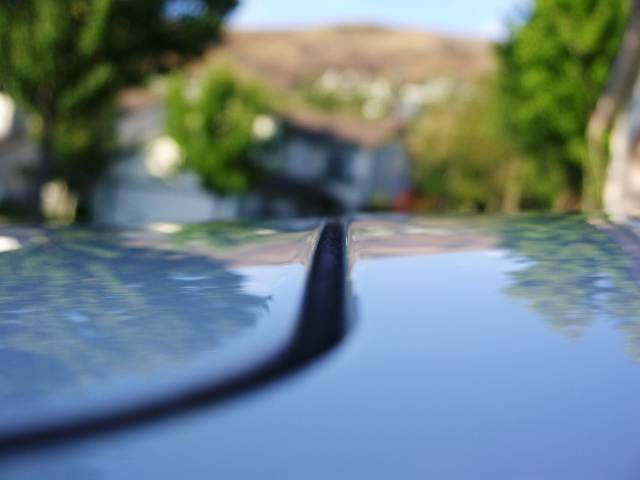
After some settling, I noticed I didn't get the rear edge perfectly 1mm above the roofline, but flush was good enough for me.

Before:

After:

Close-up After:

Questions? Comments? E-mail me: .

Click Here to return to the Main Menu.


Optimized for 800x600 or higher resolution.

Copyright © Midnight Designs, 2002. All Rights Reserved. All images and registered trademarks are used to benefit and without intent to infringe on the holder. Contents Subject to Change Without Notice.